Introduction
Gravity Forms is a powerful and versatile WordPress plugin that allows you to create advanced forms for your website. Whether you need a simple contact form, a complex multi-page form, or payment integration, Gravity Forms makes it easy to build and customize forms to fit your needs.
In this beginner’s guide, we’ll walk you through the process of installing, configuring, and optimizing Gravity Forms for your WordPress site. Let’s get started!

Why Choose Gravity Forms?
Gravity Forms is trusted by millions of WordPress users for good reasons:
- Drag-and-Drop Builder: Create forms effortlessly without coding.
- Conditional Logic: Display fields based on user input for a dynamic form experience.
- Add-Ons and Integrations: Connect with payment gateways, email marketing tools, and CRMs.
- Responsive Design: All forms are mobile-friendly and look great on any device.
- Extensive Field Options: Choose from a wide variety of fields, including text, dropdowns, file uploads, and more.
Step-by-Step Guide to Setting Up Gravity Forms
Step 1: Install and Activate Gravity Forms
- Purchase Gravity Forms from the official website.
- Download the plugin zip file from your Gravity Forms account.
- Log in to your WordPress dashboard and go to Plugins » Add New.
- Click Upload Plugin, select the zip file, and click Install Now.
- Once installed, click Activate Plugin to enable Gravity Forms.
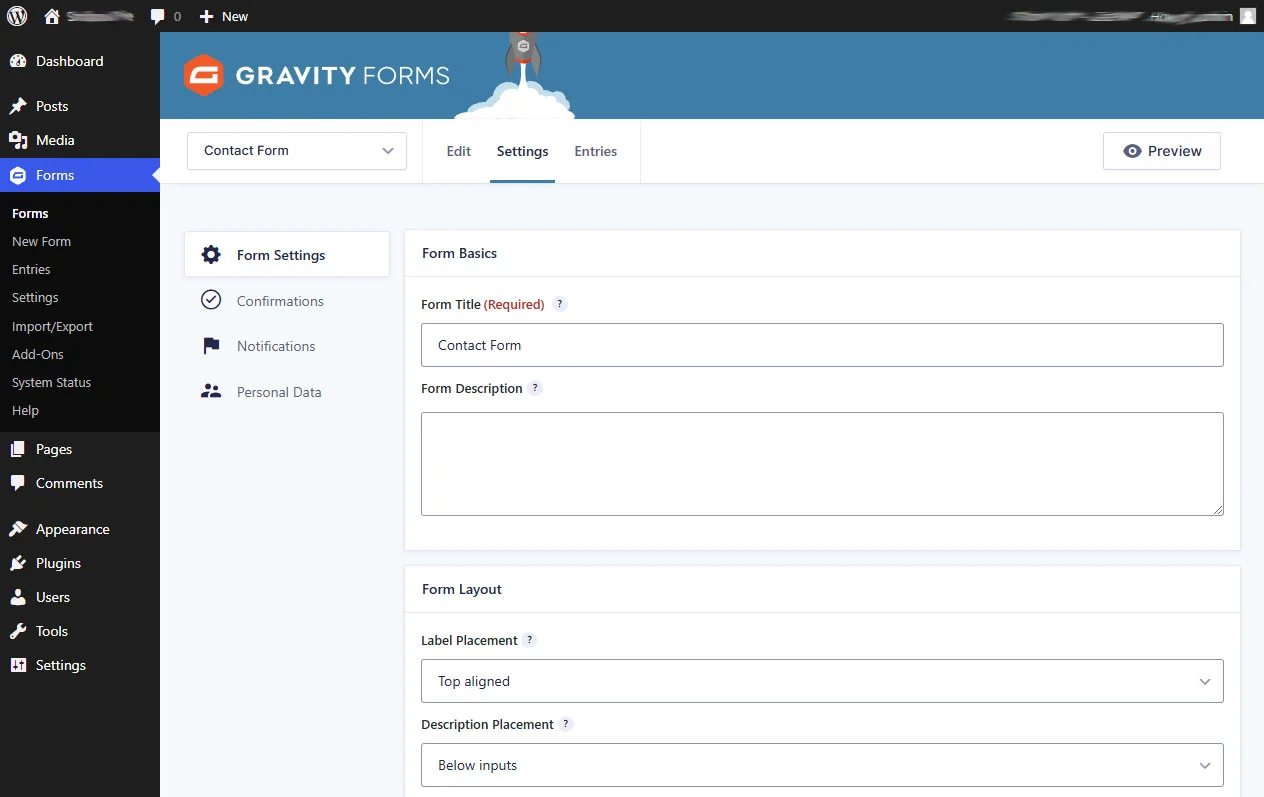
- Enter your license key (found in your Gravity Forms account) under Forms » Settings to receive updates and access add-ons.
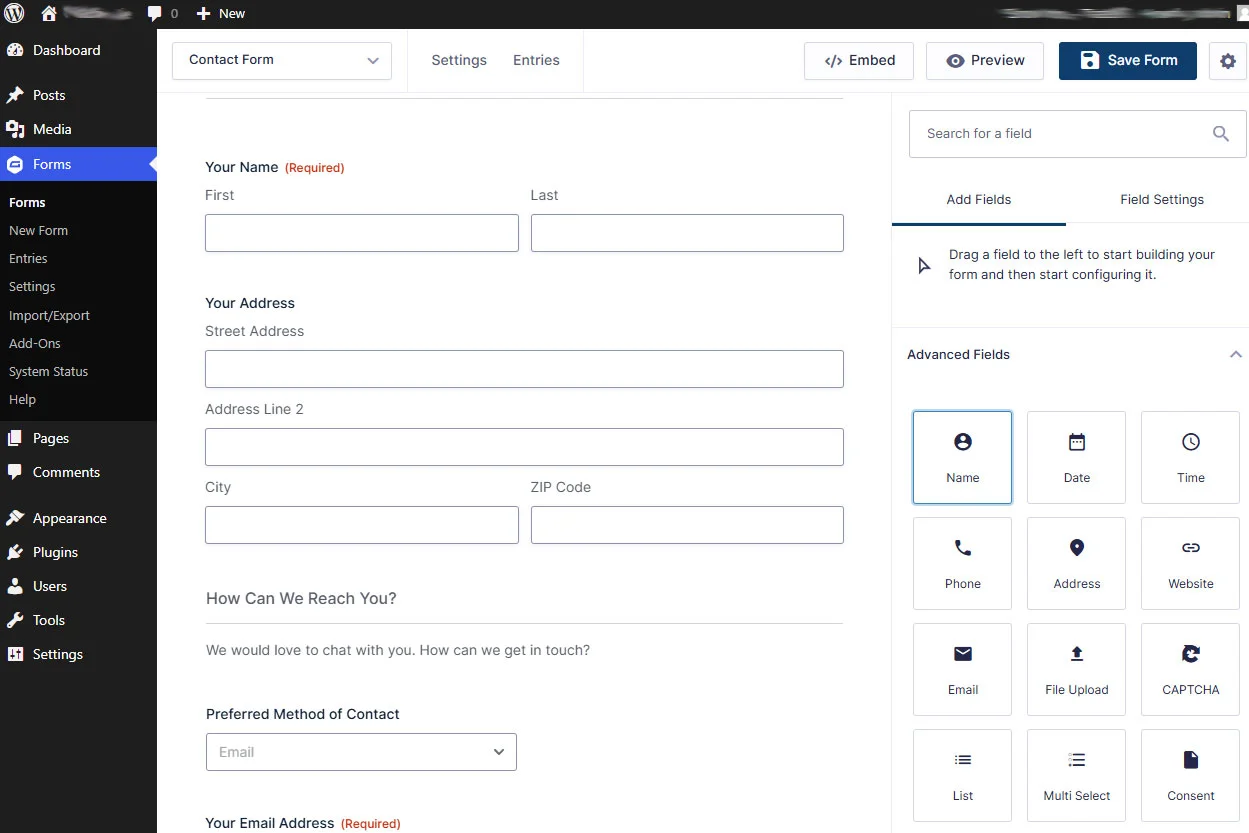
Step 2: Create a New Form
- Navigate to Forms » New Form in your WordPress dashboard.
- Enter a name and description for your form, then click Create Form.
- Use the drag-and-drop builder to add fields to your form. Popular fields include:
- Name
- Email
- Phone
- Message
- File Upload
- Configure each field by clicking on it and setting options like labels, placeholders, and required fields.
- Save your form when you’re satisfied.
- Name
- Phone
- Message
- File Upload
Step 3: Embed the Form on Your Website
- Go to the page or post where you want the form to appear.
- Click the Add Form button above the content editor.
- Select your form from the dropdown menu and click Insert Form.
- Publish or update the page to make the form live.
Customizing Gravity Forms
Using Conditional Logic
Gravity Forms’ conditional logic allows you to create interactive forms. For example, you can show or hide fields based on user responses.
- Open the form builder and click on a field.
- Enable Conditional Logic in the field settings.
- Define the rules (e.g., Show this field if the previous field equals a specific value).
Styling Your Forms
Gravity Forms inherits styles from your theme, but you can customize them further:
- Go to Appearance » Customize » Additional CSS.
- Add custom CSS to style your forms. Example:
.gform_wrapper input,
.gform_wrapper textarea {
    border: 1px solid #ddd;
    padding: 10px;
    font-size: 16px;
}

.gform_button {
    background-color: #0073aa;
    color: #fff;
    padding: 10px 20px;
    border: none;
    cursor: pointer;
}

.gform_button:hover {
    background-color: #005a87;
}
Using Add-Ons
Enhance your forms with Gravity Forms add-ons:
- Payment Add-Ons: Integrate with PayPal, Stripe, or other gateways.
- Email Marketing Add-Ons: Sync with Mailchimp, Constant Contact, or ActiveCampaign.
- CRM Add-Ons: Connect with HubSpot, Salesforce, or Zoho CRM.
Setting Up Notifications in Gravity Forms
Notifications ensure you receive email alerts when a form is submitted. Here’s how to set them up:
- Open the form builder and go to Settings » Notifications.
- Edit the default notification or click Add New for additional notifications.
- Configure these fields:
- Send To Email: Enter your email address or use smart tags (e.g., {admin_email}).
- From Name: Specify the sender’s name (e.g., Your Website Name).
- From Email: Use a valid email address to avoid spam filters.
- Subject: Customize the subject line.
- Message: Include form submission details using smart tags.
- Save your changes and test the form to ensure notifications are working.
Optimizing Your Forms
Enable Spam Protection
- Go to Forms » Settings.
- Enable CAPTCHA or reCAPTCHA to block spam submissions.
- Use the Honeypot feature for additional protection.
How Gravity GSheetConnector Enhances Your Gravity Forms Workflow

If you're using Gravity Forms for data collection, the Gravity GSheetConnector plugin is an invaluable tool to automate and simplify your workflow. It seamlessly integrates Gravity Forms with Google Sheets, ensuring all form submissions are automatically saved in your designated spreadsheet in real time.
Why Use Gravity Forms GSheetConnector?
- Real-Time Sync: No manual exports—data is instantly transferred to Google Sheets.
- Improved Data Management: Centralize and organize submissions for easy analysis and reporting.
- Enhanced Collaboration: Share synced spreadsheets with your team to streamline communication.
Key Features of Gravity Forms GSheetConnector
Gravity Forms GSheetConnector Free Version Features: (Download Now)
- Google Sheets API (Up-to date)
- One Click Authentication
- Authenticated Email Display
- Click & Fetch Sheet Automated
- Multi Language Support
- Multi Site Support
- Automatic Updates
- Quick Configuration
- Latest WordPress & PHP Support
- Comprehensive Documentation
Gravity Forms GSheetConnector Pro Version Features: (Buy Now)
- Google Sheets API (Up-to date)
- One Click Authentication
- Authenticated Email Display
- Click & Fetch Sheet Automated
- Creating New Sheet Option
- Real-time Form Entries
- Manually Adding Sheet & Tab Name
- Automated Sheet & Tab Name
- Multi Sheets using Multi-Feeds
- Custom Ordering
- Custom / Merge Tags
- Conditional Sheet
- Enable/Disable Sheet Headers
- Manual Integration
- Freeze Header / Color Option
- Sync Setting
- Role Management
- Multi Language Support
- Multi Site Support
- Automatic Updates
- Quick Configuration
- Latest WordPress & PHP Support
- Excellent Priority Customer Support
- Comprehensive Documentation
By using Gravity GSheetConnector, you can turn your Gravity Forms into a powerful tool for data collection and management, saving time and ensuring accuracy.
Final Thoughts
WPForms is an excellent tool for creating professional and user-friendly forms in WordPress. Whether you’re a beginner or an experienced developer, its features cater to all skill levels. By following this guide, you can easily set up, customize, and optimize WPForms for your website.
Looking for advanced functionality? Pair WPForms with plugins like GSheetConnector to streamline your workflows and manage form entries efficiently.
Need Help?
If you have questions or need assistance with Gravity Forms GSheetConnector, click on Support Now for expert guidance!
Share This Story, Choose Your Platform!
 How to Setup the WPForms Plugin in WordPress
 The Ultimate Comparison: 9 Best WordPress Migration Plugins for 2025