After purchasing the plugin, you will receive an email at your registered email address. This email will include the plugin download link and the license key. Simply click the link to download the plugin files and copy the license key. Once the plugin is installed, enter the license key to activate it.
If the download link shows as expired or you are unable to download the plugin, please log in to your account on our website and manually download the Pro version from the My Account section.
Download PRO Version Manually
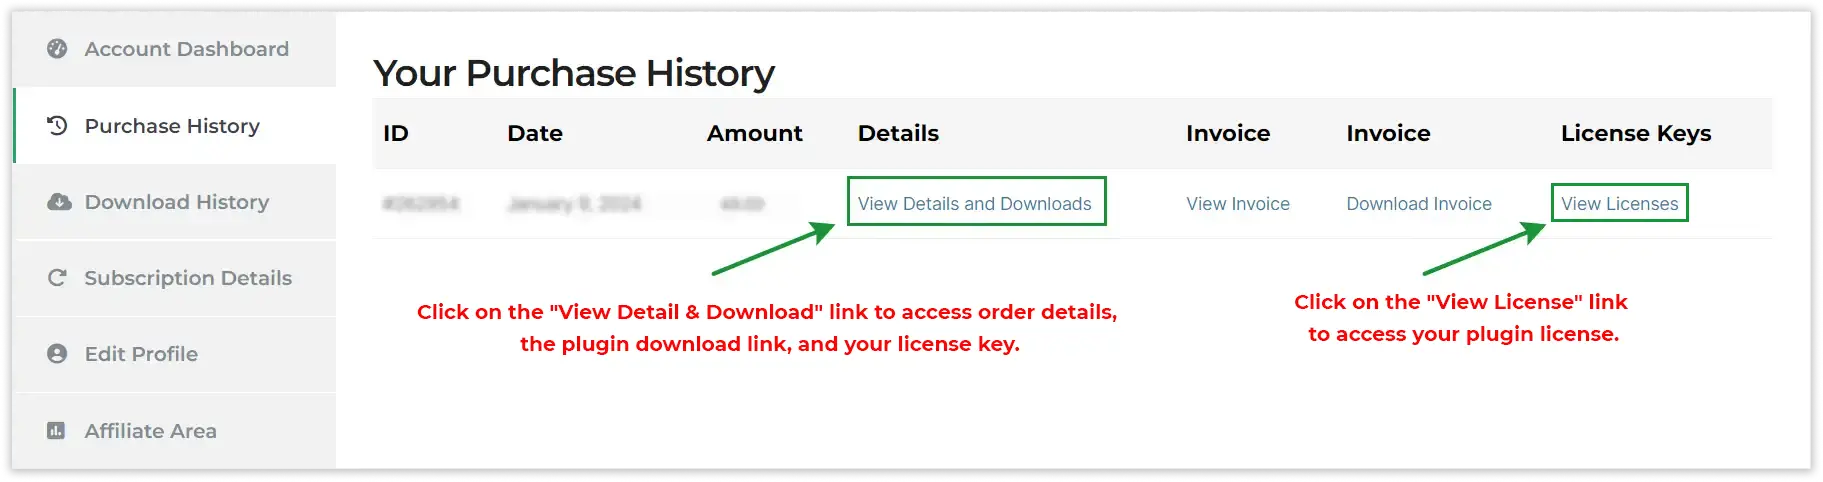
To download the CF7 Google Sheet Connector PRO version, log in to your account using the credentials you used during the purchase. Once logged in, navigate to the “My Account” section, then go to the “Purchase History” tab. Here, you will find the “View Details and Downloads” option, which allows you to access and download the plugin as well as copy the license keys.
Refer to the screenshot below for guidance.
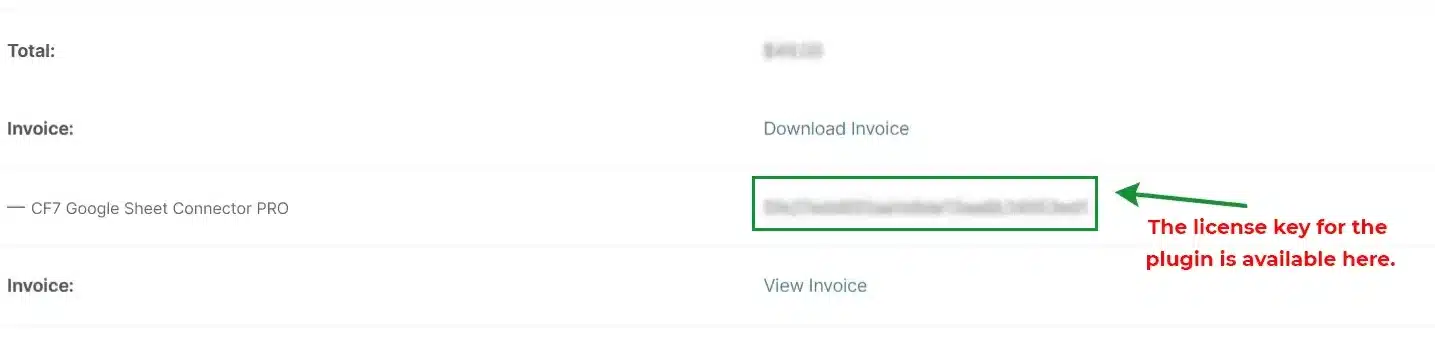
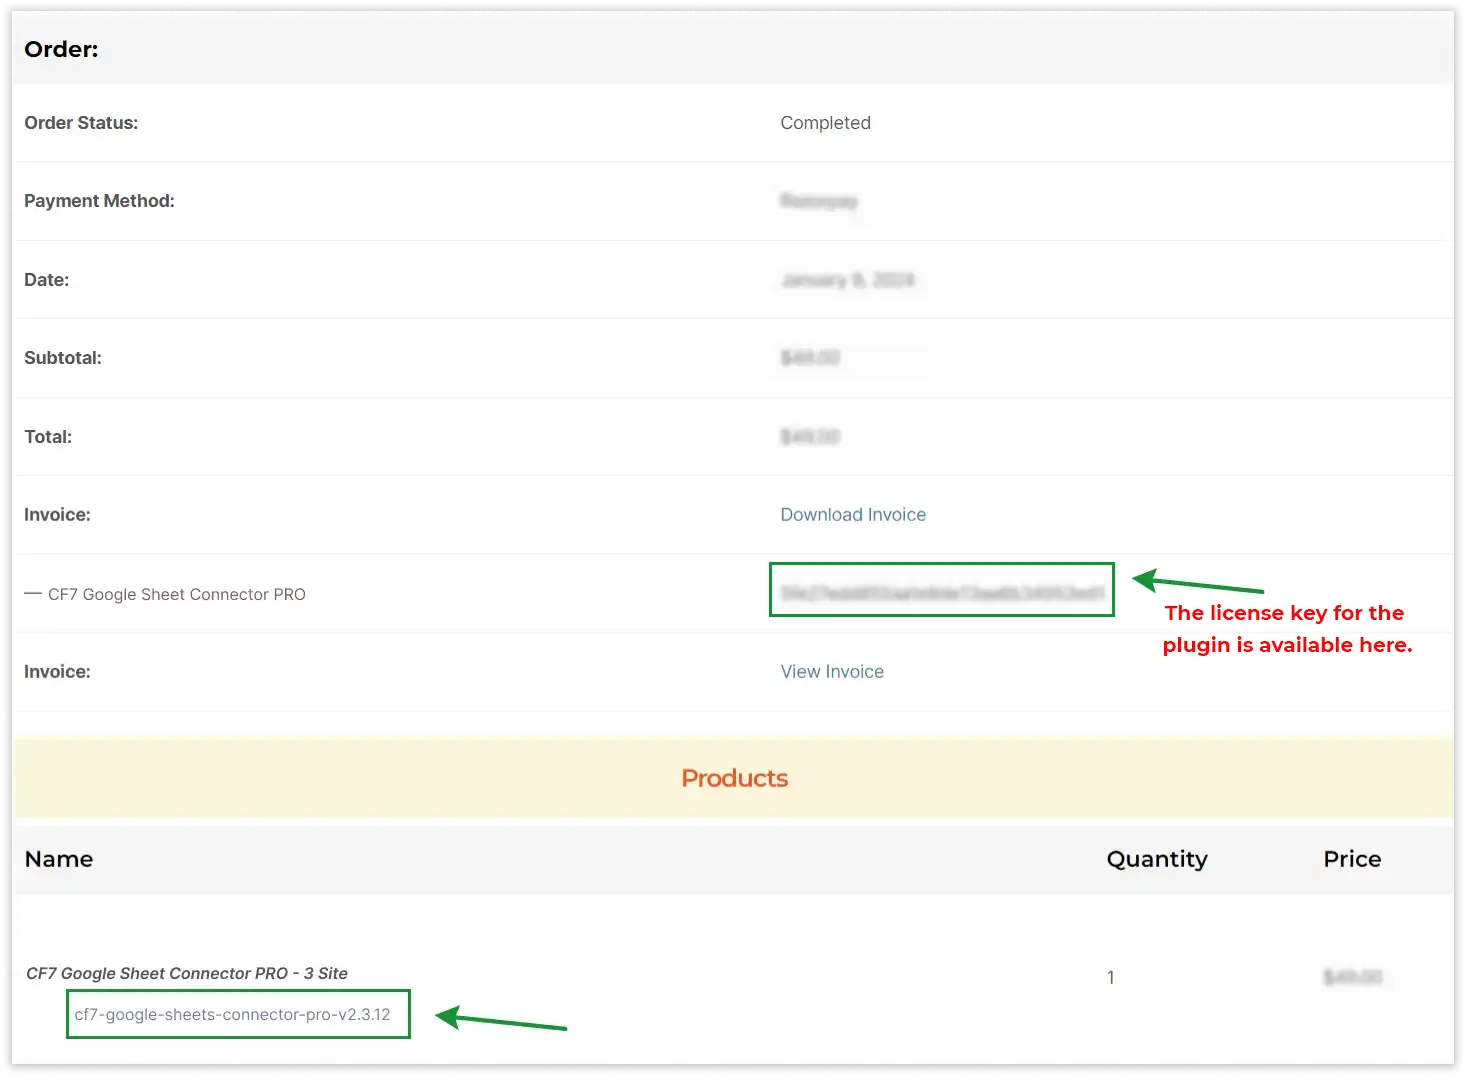
After clicking on “View Details and Downloads,” you can view the details of your purchase, including the associated license keys. Additionally, you’ll see the “Download Plugin” option, which allows you to download the plugin files for installation on your website.
Install & Activate PRO
After successfully downloading the PRO version of the plugin, return to your website’s WordPress dashboard. To install the plugin, follow these steps:
- Navigate to the “Plugins” section in your WordPress dashboard.
- Click on “Add New.”
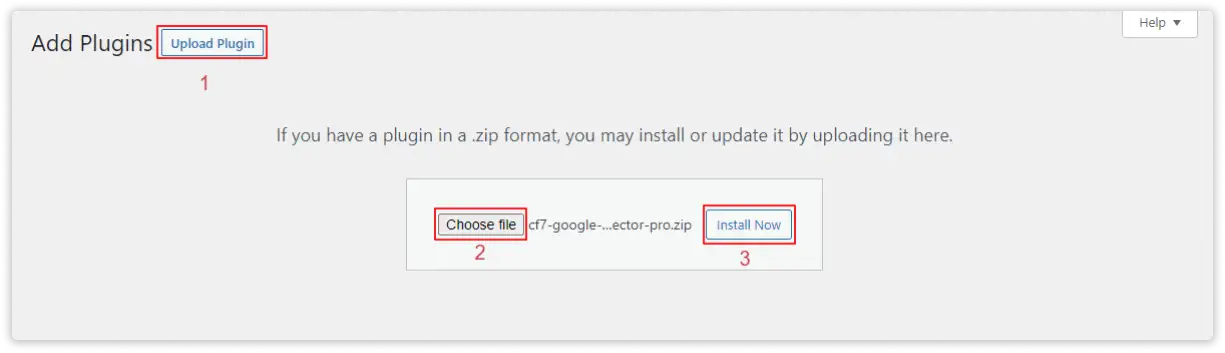
- Choose the “Upload Plugin” option.
- Click the “Choose File” button and select the downloaded plugin file from your computer.
- Click the “Install Now” button.
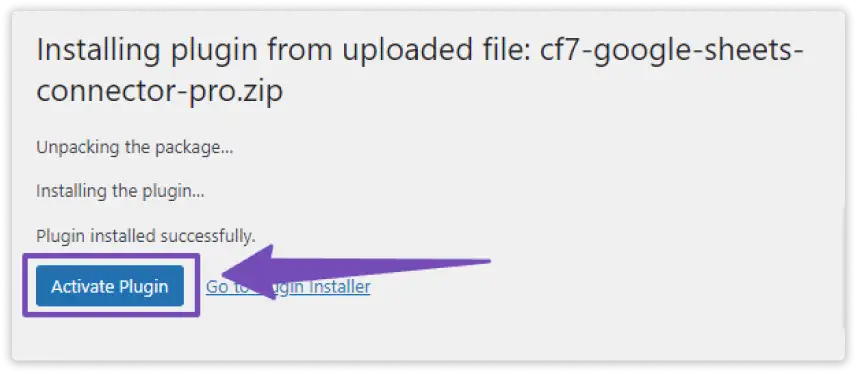
- Once the installation is complete, click the “Activate Plugin” button to activate the plugin on your website.
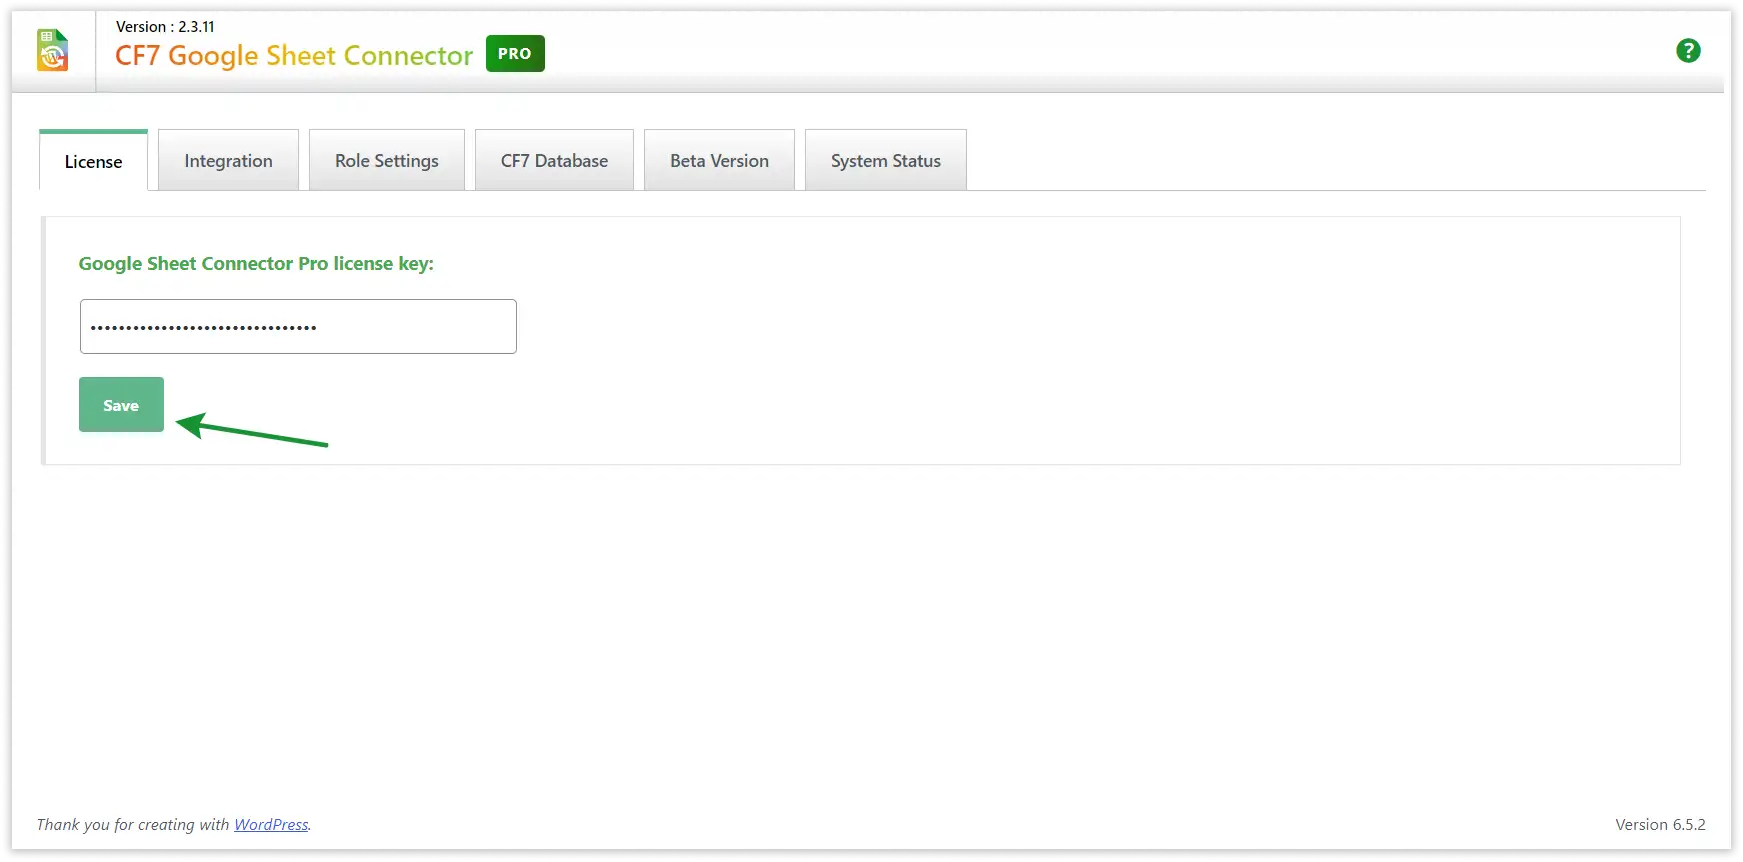
Now Activate the Plugin.
Licence Validation
Now, you can copy the license key from your email or simply use the license key copied from the above settings from Purchase History — View Details and Downloads.