Contact Form 7 Plugin in WordPress: A Step-by-Step Guide
Contact Form 7 is one of the most popular and easy-to-use plugins for creating contact forms on WordPress websites. Whether you run a blog, an online store, or a business website, having a simple yet effective contact form is essential for engaging with your audience. In this comprehensive guide, we will walk you through everything you need to know about setting up and using Contact Form 7 on your WordPress site, from installation to customization, and even integrating with Google Sheets using GSheetConnector.

What is Contact Form 7?
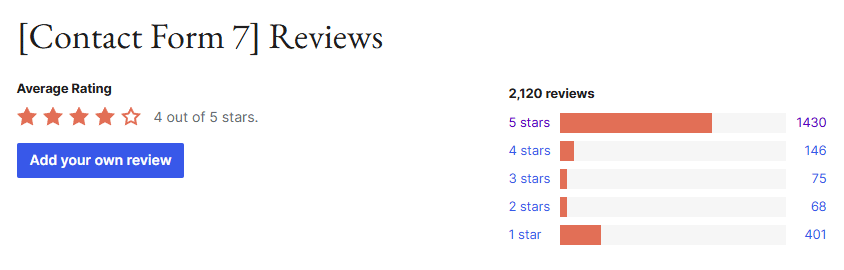
Contact Form 7 is a free WordPress plugin that allows you to create and manage multiple forms. It supports various features like spam protection, customizable email notifications, and integrations with other tools. Its user-friendly interface and flexibility make it an ideal choice for beginners looking to add a contact form to their website.
Why Choose Contact Form 7?
- Free and Open Source: The plugin is entirely free to use and open source, making it accessible to anyone.
- Easy to Use: Even beginners can quickly create and embed forms without needing to write any code.
- Customizable: Contact Form 7 offers various customization options, allowing you to tailor the form to your website’s needs.
- Advanced Features: It supports CAPTCHA, Akismet, and email notifications, helping you manage spam and improve security.
How to Install and Set Up Contact Form 7 in WordPress
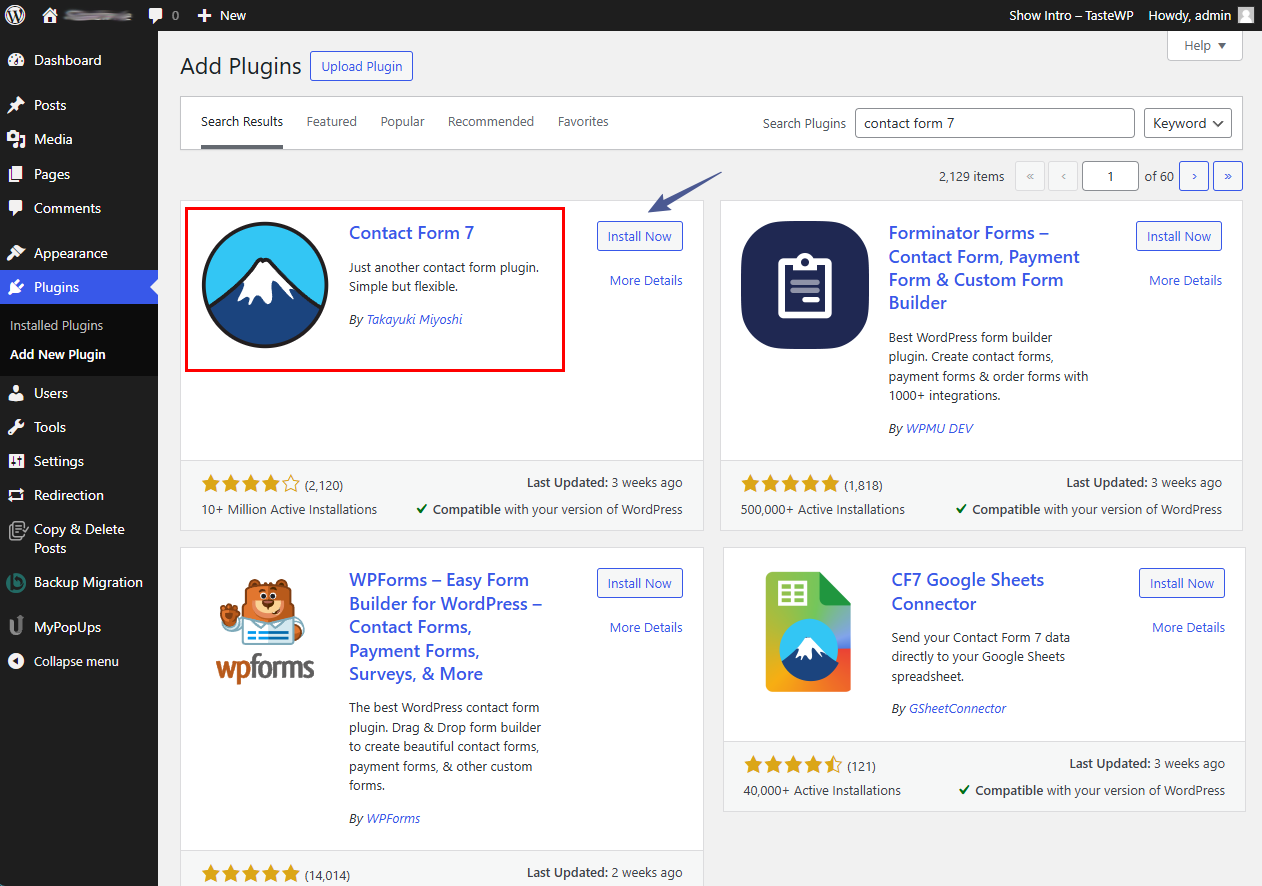
1. Install the Contact Form 7 Plugin
- Log into your WordPress dashboard.
- Navigate to Plugins > Add New.
- Search for “Contact Form 7” in the search bar.
- Click Install Now and then Activate once the plugin is installed.
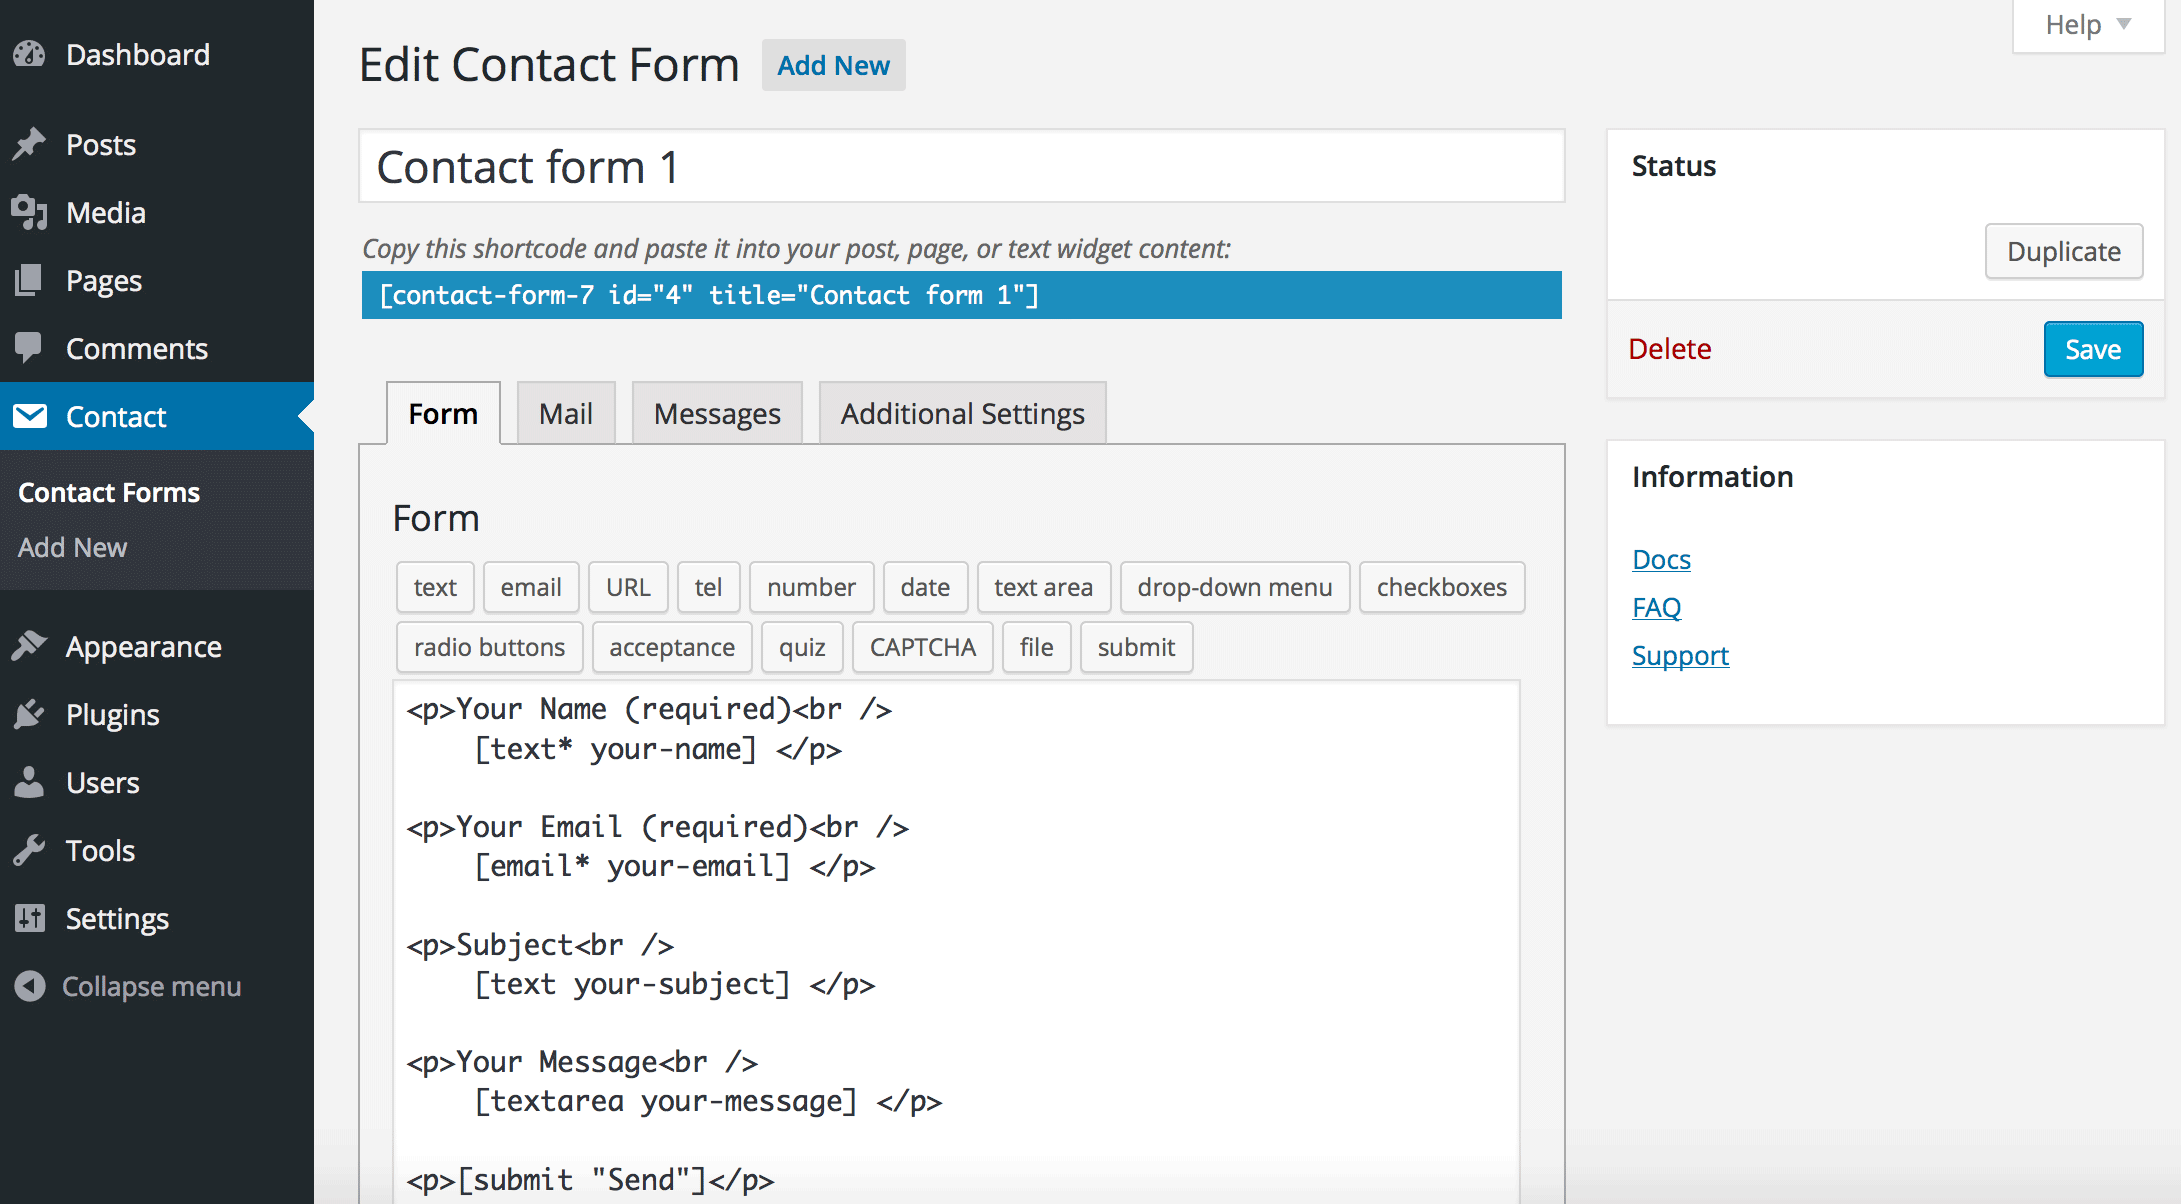
2. Create Your First Contact Form
- After activation, you’ll see a new menu item called Contact in your WordPress dashboard.
- Click Contact > Contact Forms.
- By default, a sample form will be created. You can edit this or click Add New to create a new form.
- In the form editor, you will see different tags to create fields such as Name, Email, Message, etc. Use the buttons above to add text fields, email fields, text areas, and other necessary elements to your form.
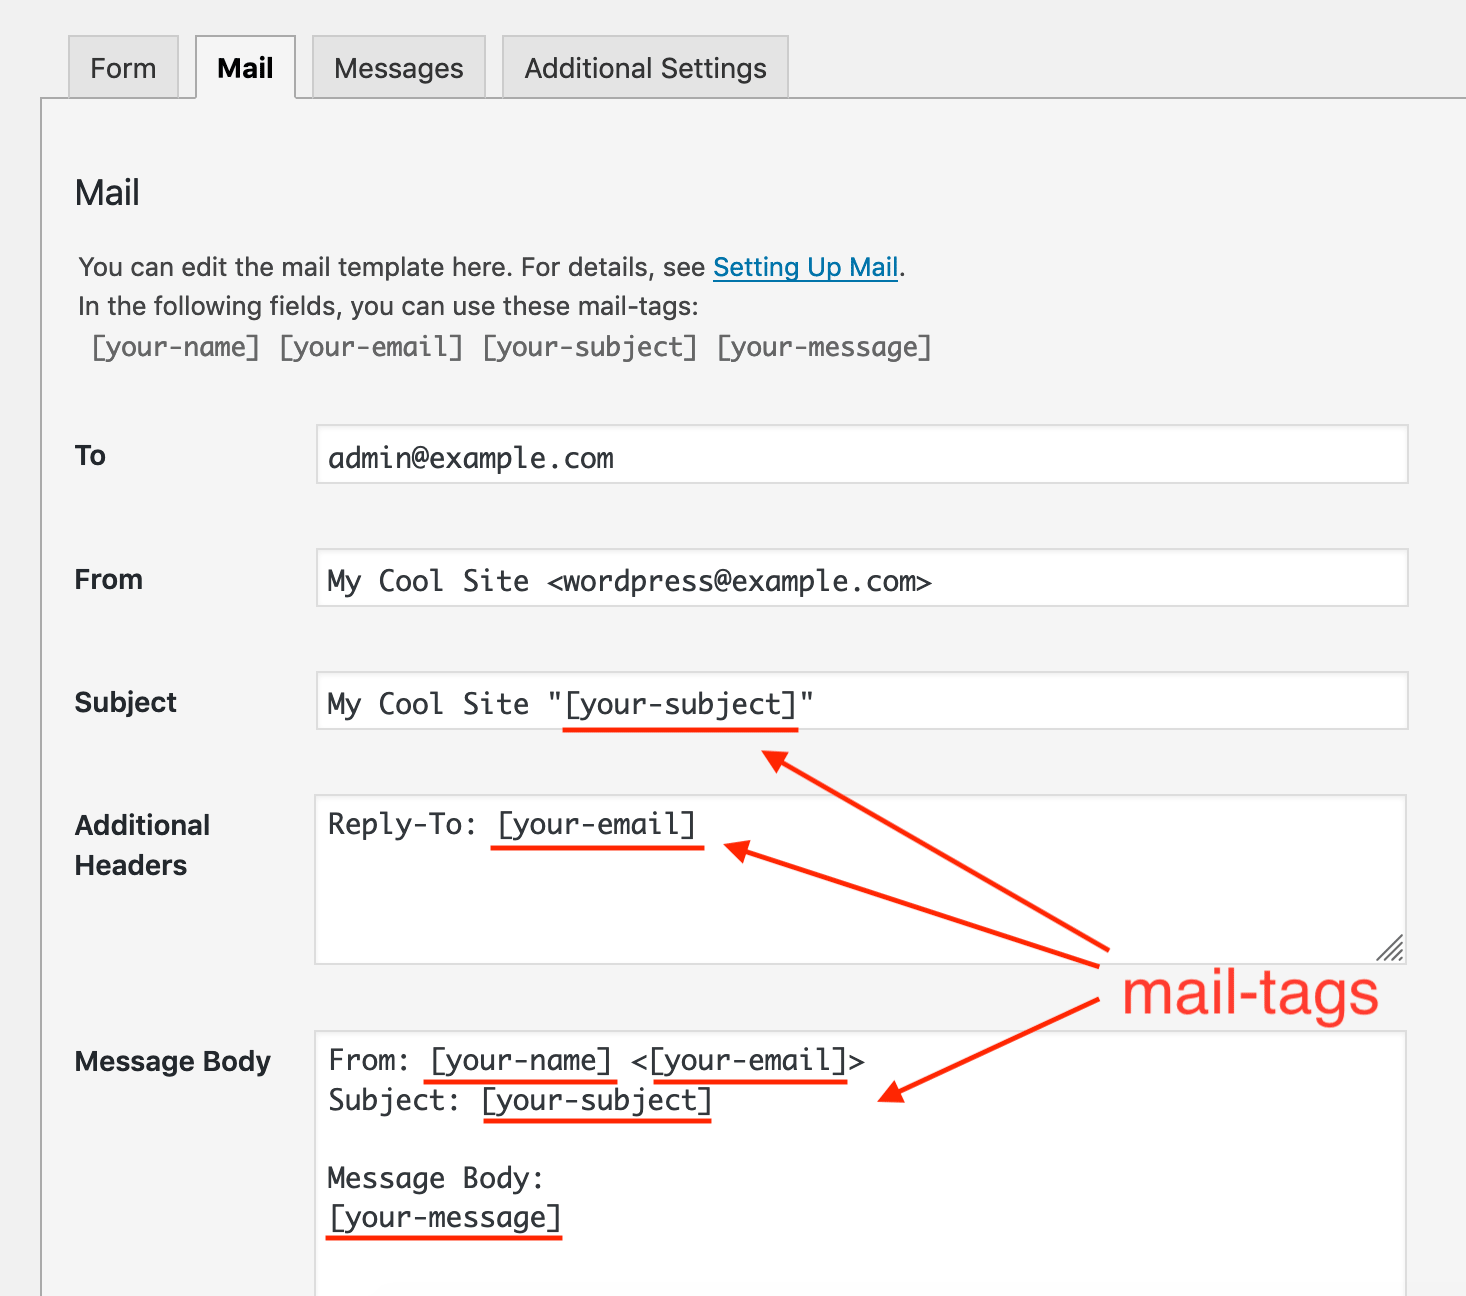
3. Configure Mail Settings
- Once the form is created, go to the Mail tab to configure how you want to receive form submissions.
- In the To field, enter the email address where you want to receive the form submissions (e.g., your support or contact email).
- The From field typically uses the tag
[your-email]to ensure the sender’s email is used in the “From” section of the email. - You can also customize the subject, message body, and additional fields based on the form data.
4. Add the Form to Your Page or Post
- Once you’ve finished creating and configuring your form, save your changes.
- You will see a shortcode at the top of the form editor, something like
Error: Contact form not found.
- Copy this shortcode.
- Go to the page or post where you want to display the form and paste the shortcode in the content area.
- Click Publish or Update to save the changes.
Customizing Your Contact Form 7 for a Better User Experience
1. Styling Your Contact Form
- To make your contact form more visually appealing, you can customize the style using custom CSS.
- Go to Appearance > Customize > Additional CSS in your WordPress dashboard.
- Here, you can add custom CSS to style the form fields, buttons, and labels.
For example:
.wpcf7 form input[type="text"],
.wpcf7 form input[type="email"],
.wpcf7 form textarea {
    width: 100%;
    padding: 12px;
    margin-bottom: 10px;
    font-size: 16px;
    border: 1px solid #ddd;
}

.wpcf7 input[type="submit"] {
    background-color: #0073e6;
    color: white;
    padding: 12px 20px;
    border: none;
    border-radius: 5px;
    cursor: pointer;
}

.wpcf7 input[type="submit"]:hover {
    background-color: #005bb5;
}
2. Adding Spam Protection
- Akismet: To prevent spam, you can integrate Akismet with your Contact Form 7.
- Go to the Mail tab, and add the Akismet key in the Additional Settings section to help filter out spam.
- CAPTCHA: You can also use CAPTCHA for additional protection. Install the Contact Form 7 – reCAPTCHA plugin and follow the instructions to set it up.
Advanced Features of Contact Form 7: Google Sheets Integration
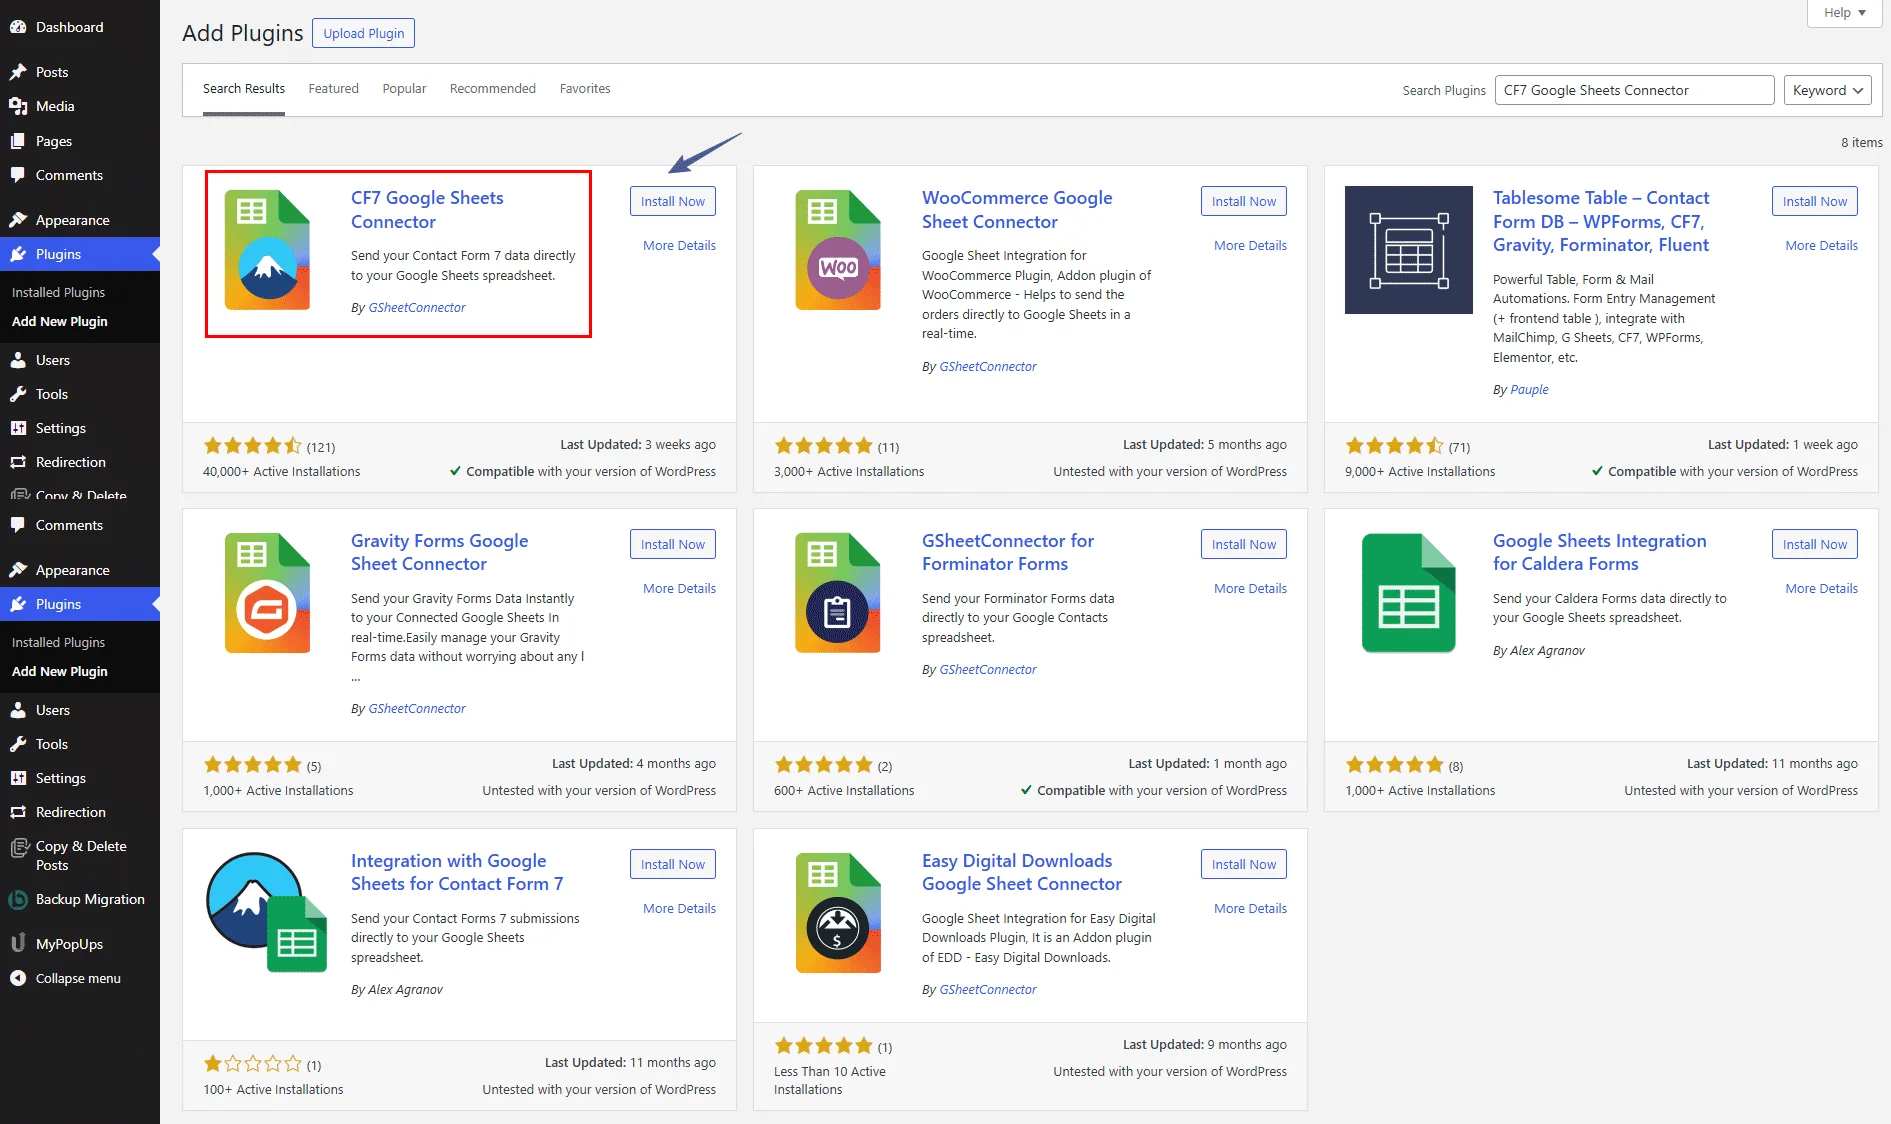
1. Install GSheetConnector
- If you want to sync your form submissions to Google Sheets, GSheetConnector is the perfect solution.
- Install and configure GSheetConnector by following the plugin’s installation steps. It allows you to automatically save the data submitted via Contact Form 7 directly to a Google Sheet, making it easier to manage and analyze.
2. Map Form Fields to Google Sheets
- In the GSheetConnector settings, select the Contact Form 7 form you want to integrate.
- Map the form fields to the corresponding columns in your Google Sheet.
- Now, every time someone submits a form, the data will be saved directly into your Google Sheet.
CF7 Google Sheet Connector: Free vs. Pro Version – Pros & Cons
CF7 Google Sheet Connector Free Version Features – (Download Now)
- Google Sheets API (Up-to date)
- One Click Authentication
- Authenticated Email Display
- Real-time Submissions
- Manually Adding Sheet Name & Tab Name
- Quick Configuration
- Multi Language Support
- Multi Site Support
- Automatic Updates
- Latest WordPress & PHP Support
- Comprehensive Documentation
CF7 Google Sheet Connector Pro Version Features – (Buy Now)
- Google Sheets API (Up-to date)
- One Click Authentication
- Authenticated Email Display
- Real-time Submissions
- Click & Fetch Sheet Automated
- Automated Sheet Name & Tab Name
- Manually Adding Sheet Name & Tab Name
- Creating New Sheet Option
- Enable/Disable Sheet Headers
- File Attachment Links
- Special Mail Tags
- Custom Mail Tags
- Conditional Feeds
- Re-arrange Fields Columns (Custom Ordering)
- Freeze Header / Color Option
- Entry Sorting Feature
- Manual Integration
- CF7 Database
- Sync Missed Entries
- Multi Sheets with Feed Settings
- Quick Configuration
- Role Management
- Multi Language Support
- Multi Site Support
- Automatic Updates
- Latest WordPress & PHP Support
- Excellent Priority Support
- Comprehensive Documentation
Why Contact Form 7 is Essential for Your Website
- Build Trust: A contact form allows visitors to reach out to you, fostering trust and engagement.
- Improve Communication: It's an effective way to manage communication from potential customers or clients.
- Track Data: With the Google Sheets integration, you can keep track of every submission and monitor trends.
“Need help with CF7 GSheetConnector Plugin or want to purchase the plugin? Click ‘Support Now‘ for quick assistance!”
Conclusion
Setting up Contact Form 7 is simple, and with its customization and integration features, you can create a form that meets your website’s needs while also managing data effectively. Whether you’re a beginner or an advanced user, Contact Form 7 makes it easy to collect information from visitors and stay organized.
By integrating Contact Form 7 with Google Sheets using GSheetConnector, you can automate your data collection, streamline communication, and focus on growing your website.
Share This Story, Choose Your Platform!
 The Ultimate Comparison: 9 Best WordPress Migration Plugins for 2025
 How to add Google Fonts in WordPress