If you are trying to upload files to your WordPress website, you might encounter the dreaded upload_max_filesize error WordPress. This error occurs when your file exceeds the maximum upload size set in your server’s PHP configuration.
Don’t worry! In this guide, we’ll show you multiple ways to fix this issue and increase your upload file size limit.
Table of Contents
- Method 1: Edit the php.ini File
- Method 2: Modify the .htaccess File
- Method 3: Update functions.php File
- Method 4: Contact Your Hosting Provider
- Method 5: Use a WordPress Plugin
- Best Practices to Avoid Upload Errors
- Conclusion
What is the upload_max_filesize Error in WordPress?
The upload_max_filesize error WordPress appears when you try to upload a file that exceeds the server-defined PHP limits. WordPress relies on PHP settings to manage file uploads.
By default, most hosting providers set the file upload limit between 2MB and 64MB, which can be insufficient for large media files, themes, or plugins.
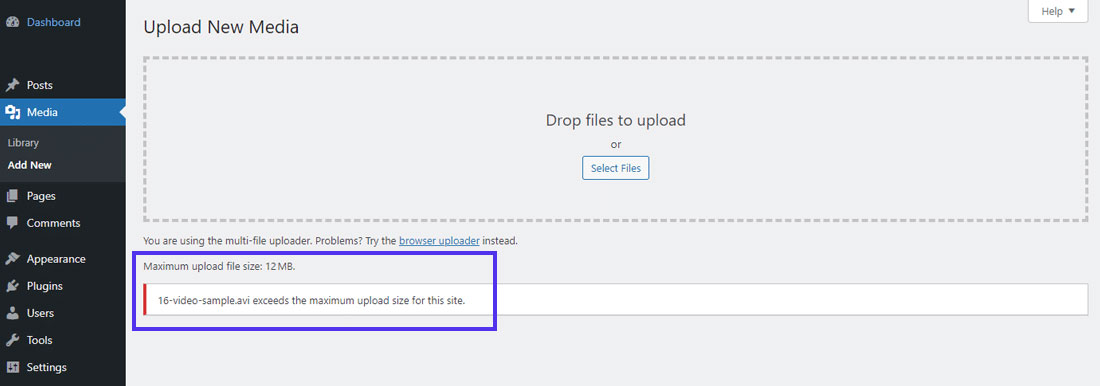
Check Your Current File Upload Limit
Before making any changes, check your current file upload size:
- Go to WordPress Dashboard > Media > Add New.
- You will see the maximum upload file size displayed at the bottom.
- Alternatively, create a PHP info file by adding this content to
info.php:
Upload it to your root directory and open it in the browser. Look for upload_max_filesize in the output.

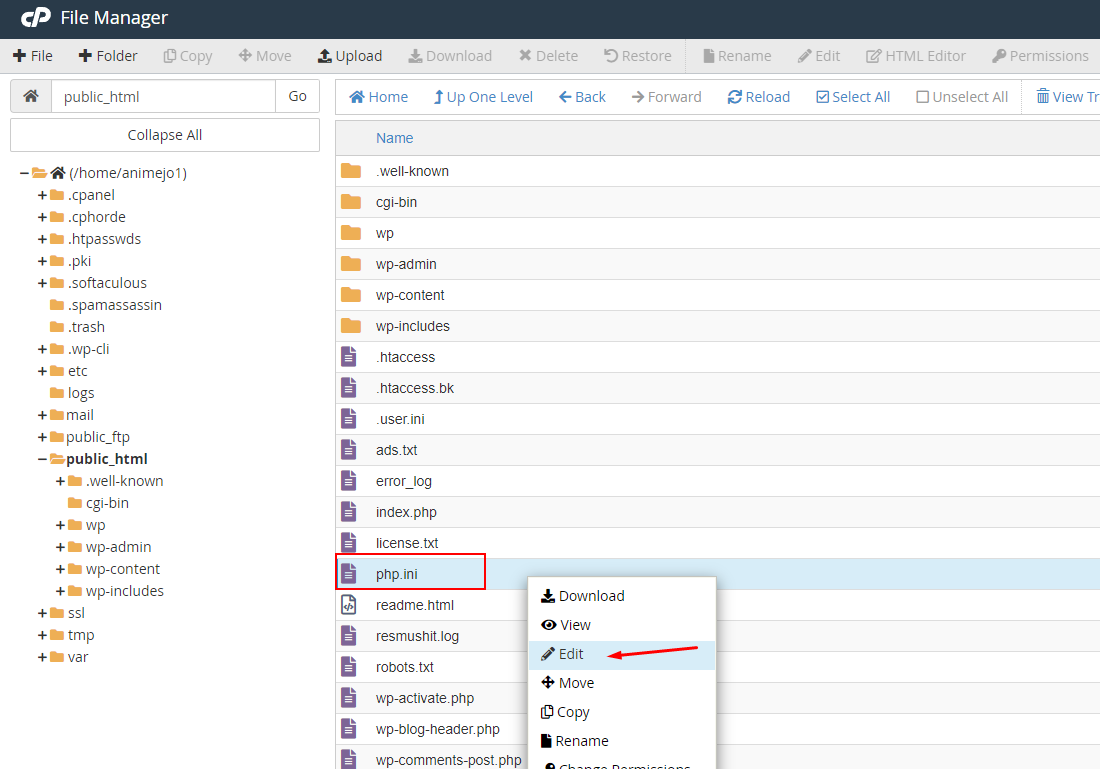
Method 1: Edit the php.ini File
If you have access to your server’s php.ini, follow these steps:
- Open the
php.inifile in your server’s root directory. - Add or modify the following lines:
upload_max_filesize = 64M
post_max_size = 64M
memory_limit = 128M
max_execution_time = 300
Save the file and restart your server (if required).
Note: Some shared hosting providers may not allow editing php.ini.
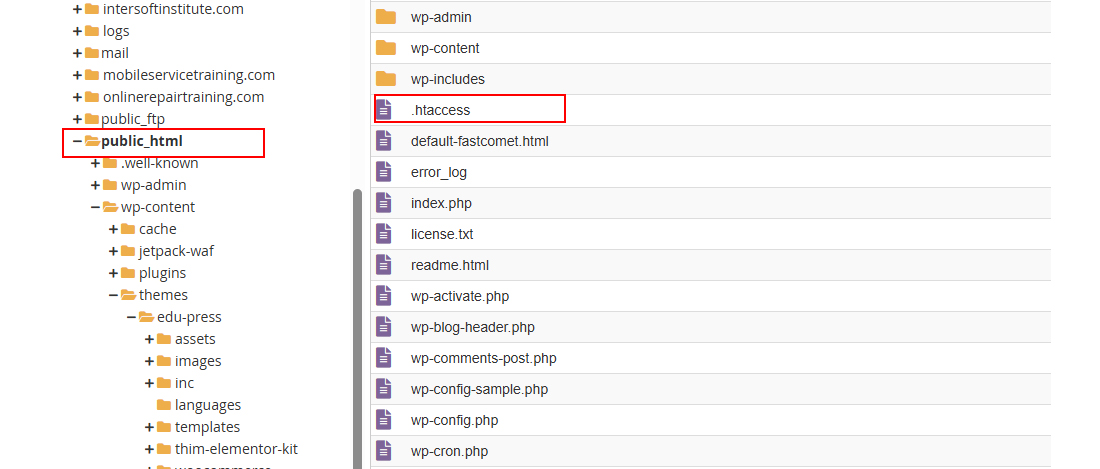
Method 2: Modify the .htaccess File
If php.ini is not accessible, you can edit the .htaccess file in your WordPress root directory:
- Open the
.htaccessfile using an editor or through your hosting File Manager. - Add the following code at the end of the file:
php_value upload_max_filesize 64M
php_value post_max_size 64M
php_value memory_limit 128M
php_value max_execution_time 300
php_value max_input_time 300
Save the file and refresh your WordPress site.
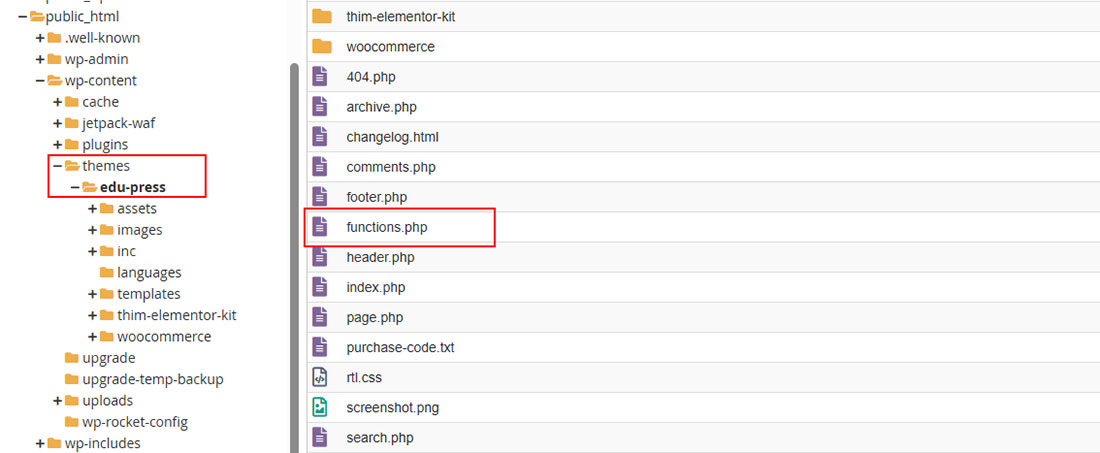
Method 3: Update functions.php File
You can also increase the upload limit using your theme’s functions.php file:
- Open
functions.phpof your active theme (Appearance > Theme Editor). - Add the following code at the bottom:
@ini_set( 'upload_max_size' , '64M' );
@ini_set( 'post_max_size', '64M');
@ini_set( 'max_execution_time', '300' );
Save the changes and check if the upload limit increased.
Method 4: Contact Your Hosting Provider
If none of the above methods work, contact your hosting provider. Most hosts can increase your upload_max_filesize limit quickly.
For example, popular hosts like Hostinger, fcomet allow you to request this change through their support panel.
Method 5: Use a WordPress Plugin
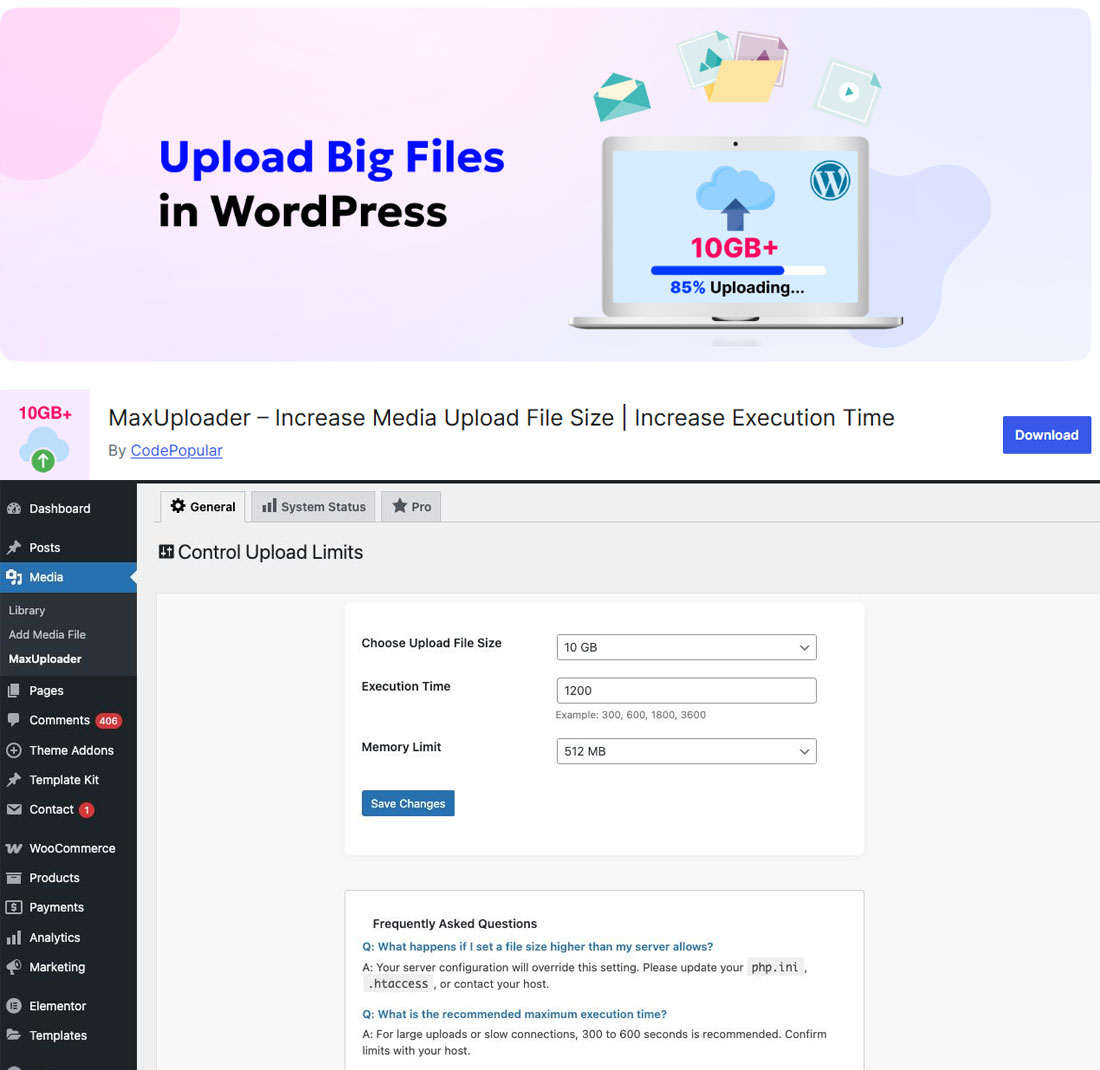
If you are not comfortable editing files manually, you can use WordPress plugins to increase the upload limit. Some popular plugins include:
These plugins let you increase the upload limit directly from your WordPress dashboard without editing any files.
Best Practices to Avoid Upload Errors
- Regularly check your file upload limits when installing large themes or plugins.
- Compress large media files using tools like TinyPNG before uploading.
- Keep your PHP and WordPress updated to avoid compatibility issues.
- Consider using FTP upload for extremely large files.
Fixing the upload_max_filesize error WordPress is straightforward. You can edit php.ini, .htaccess, or functions.php, use a plugin, or contact your host. By following the above methods, you can easily increase your file upload limit and avoid future upload errors.
✅ Now you can upload large files, themes, and plugins without encountering the upload_max_filesize error WordPress!
Related Articles:
Share This Story, Choose Your Platform!
 New Update: Service Account Authentication Google Sheet Connector
 How to Change PHP Version of Your WordPress Website (Step-by-Step Guide)