This guide makes it easy to install Elementor Form and the Elementor Form Google Sheet Connector Plugin.
Integration of Elementor Form with Google Sheet:
- Ensure that you have successfully integrated (Automatic Integration or Manual Integration) Elementor Form with Google Sheet Connector.
Edit Elementor Form :
- Go to the Elementor Form page and edit the form.
Configure Actions :
- Click on “Actions After Submit” .
- Click on “Actions After Submit” .

- Select “GSheetConnector”.

GsheetConnector
Configure GsheetConnector Feed :
- Click on “GSheet Connector” to configure the feed.
- If sheets are not showing, click on “Fetch Spreadsheets.”

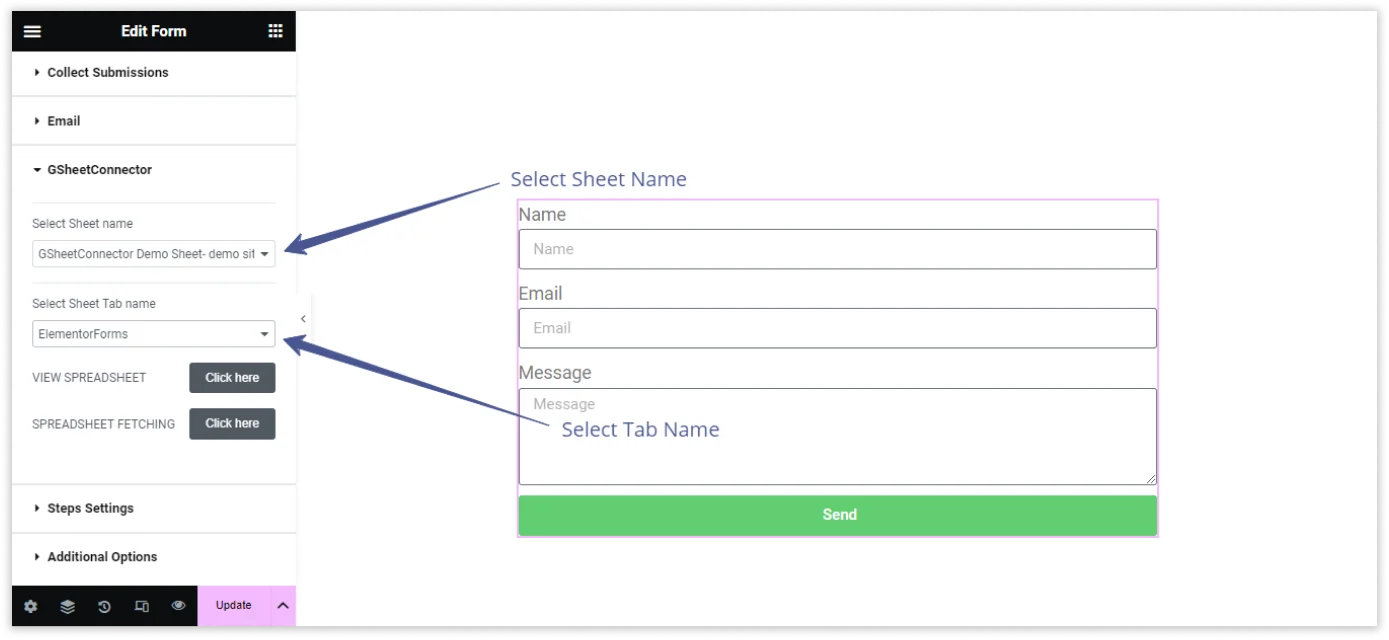
Select Google Sheet :
- Choose the Google Sheet Name where you want to store your form entries.
- Select the specific Google Sheet Tab Name.
Publish or Update :
- After configuring all the settings, click on “Publish” or “Update” to save the changes.
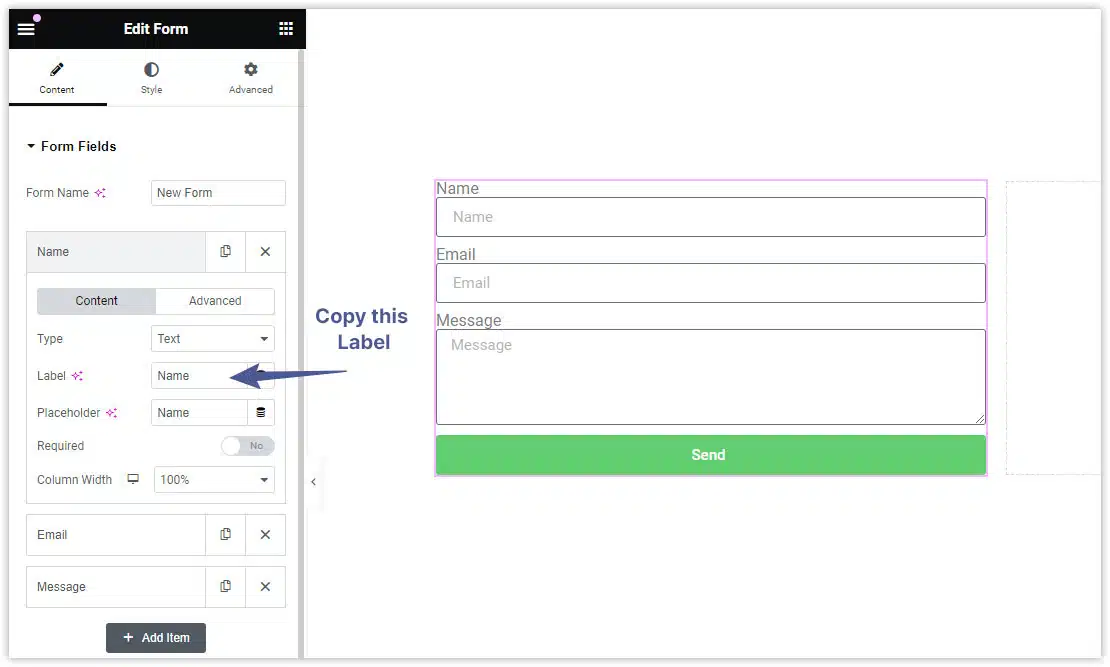
Copy Label Names :
- Navigate to the “Elementor Form Field” in your Elementor Form editor.
- Copy the Label Names associated with each form field. These label names will serve as identifiers for your form data.
- Navigate to the “Elementor Form Field” in your Elementor Form editor.
- Copy the Label Names associated with each form field. These label names will serve as identifiers for your form data.
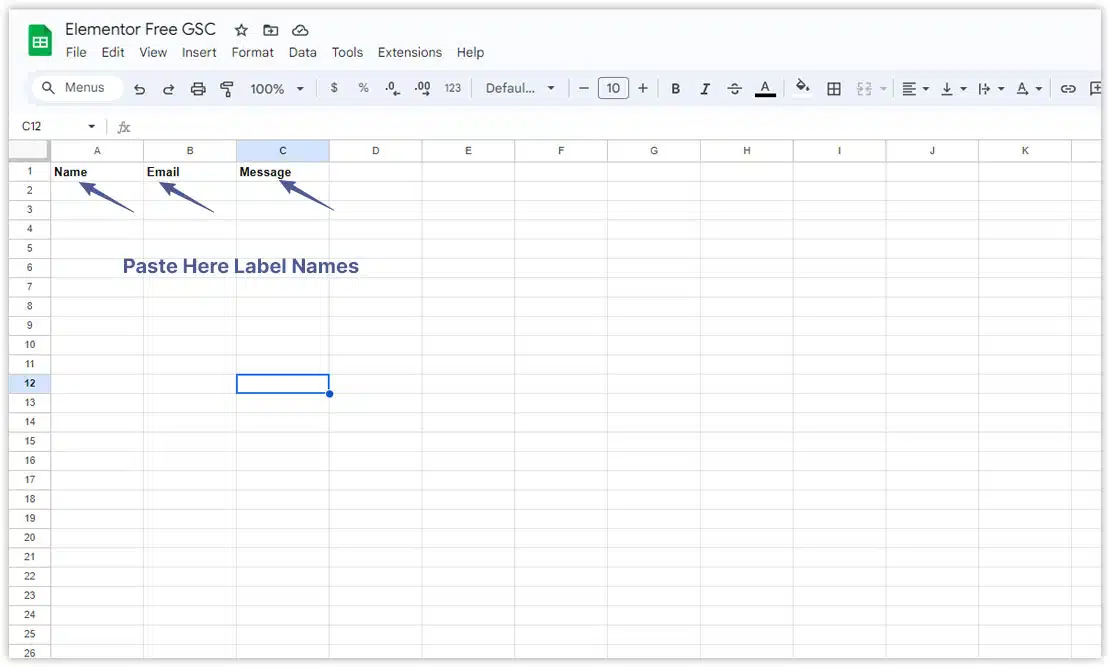
Additionally if you want to see the submission date of the form in google sheet then simply add one more column named “date” and submission date will be shown.
Check Your Google Spreadsheet :
- Open your Google Spreadsheet by Clicking on “View Spreadsheet” .


