2-Way Sync Products Configuration: Sheet to WooCommerce
We’re excited to introduce the Google Sheet to WooCommerce Sync feature. This feature will be available in the beta version : 2.0.27-beta2 and stable version will be released in 2.0.27
Now, you can seamlessly add single or bulk products within your connected sheet. Simply follow the provided instructions, click to sync, and watch as your products are seamlessly integrated into your WooCommerce store.
In this article, I will show you step by step configuration, while explaining how it will work,
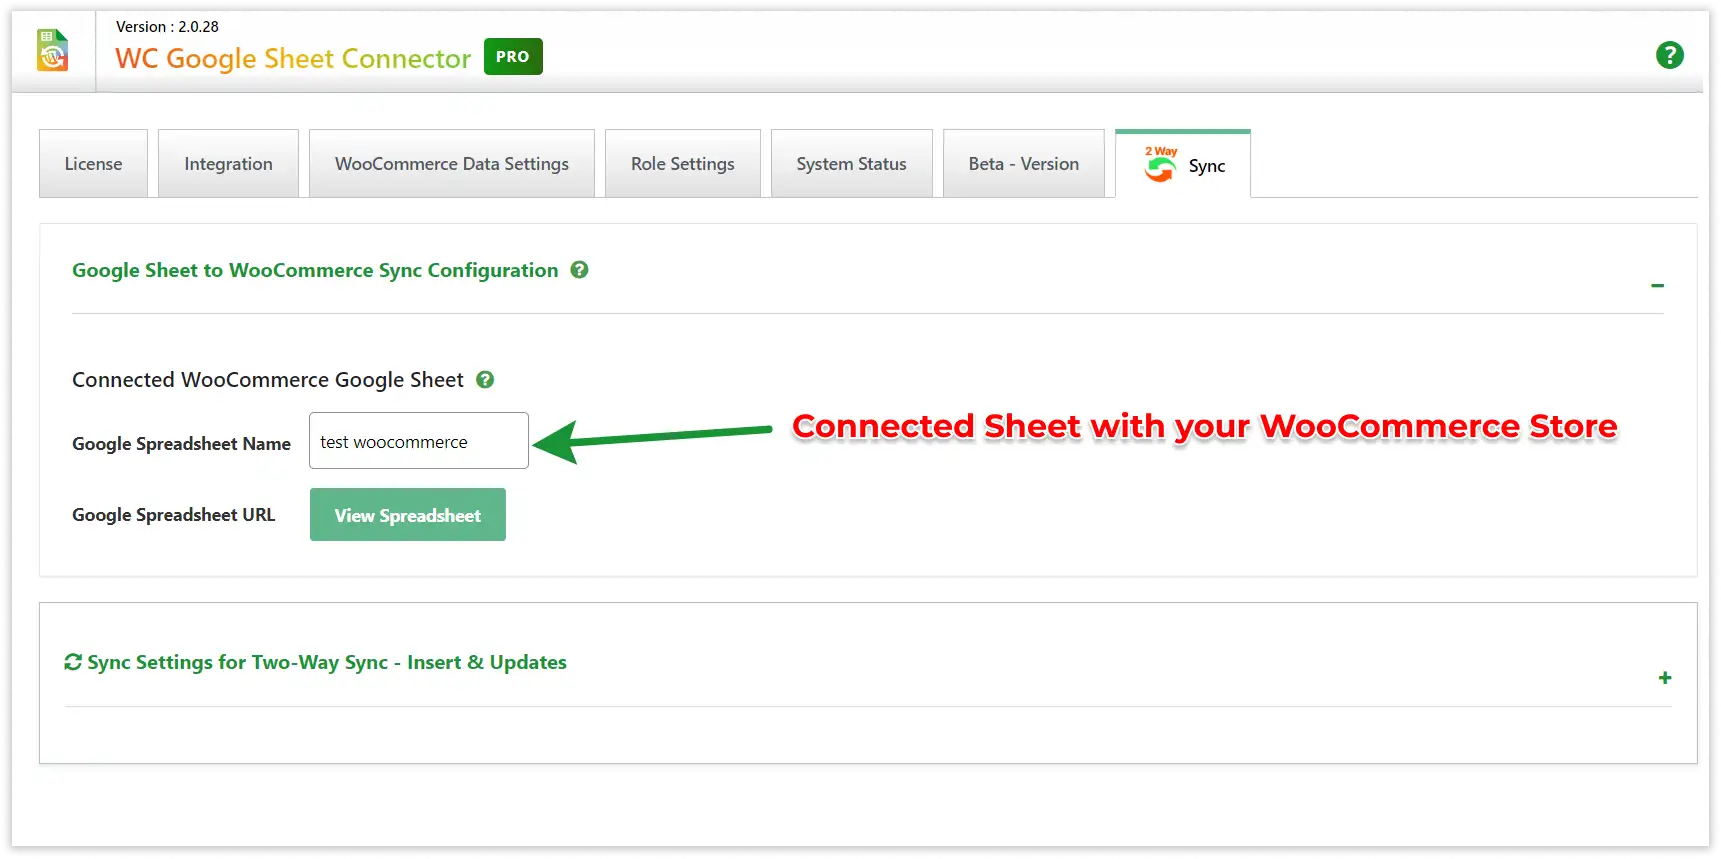
Connected WooCommerce Google Sheet: Within the Connected WooCommerce Google Sheet, you’ll see the linked sheet. Please note that sheet settings cannot be updated from this interface.
Sync Settings for Two-Way Sync: 2-Way Sync Settings
These sync settings facilitate the seamless transfer of records to WooCommerce within the selected Google Sheet!
Considerations for Two-Way Sync:
- Ensure the header names remain unchanged from the default settings during synchronization.
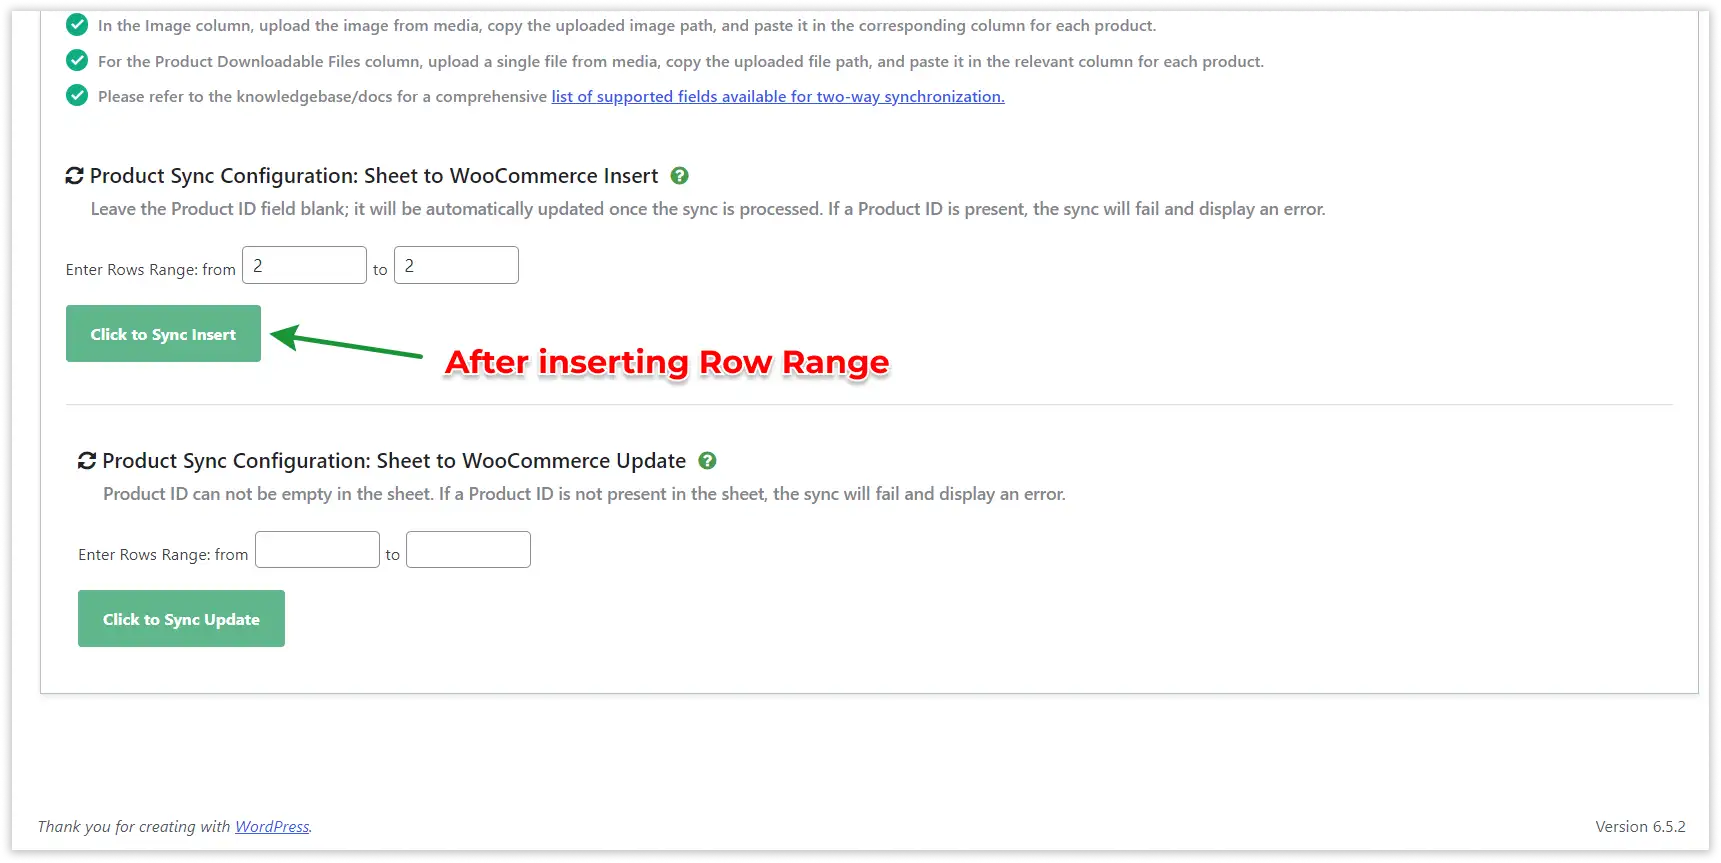
- Leave the Product ID field blank; it will be automatically updated once the sync is processed. If a Product ID is present, the sync will fail and display an error.
- To add multiple Product Categories and tags, separate them with commas (,).
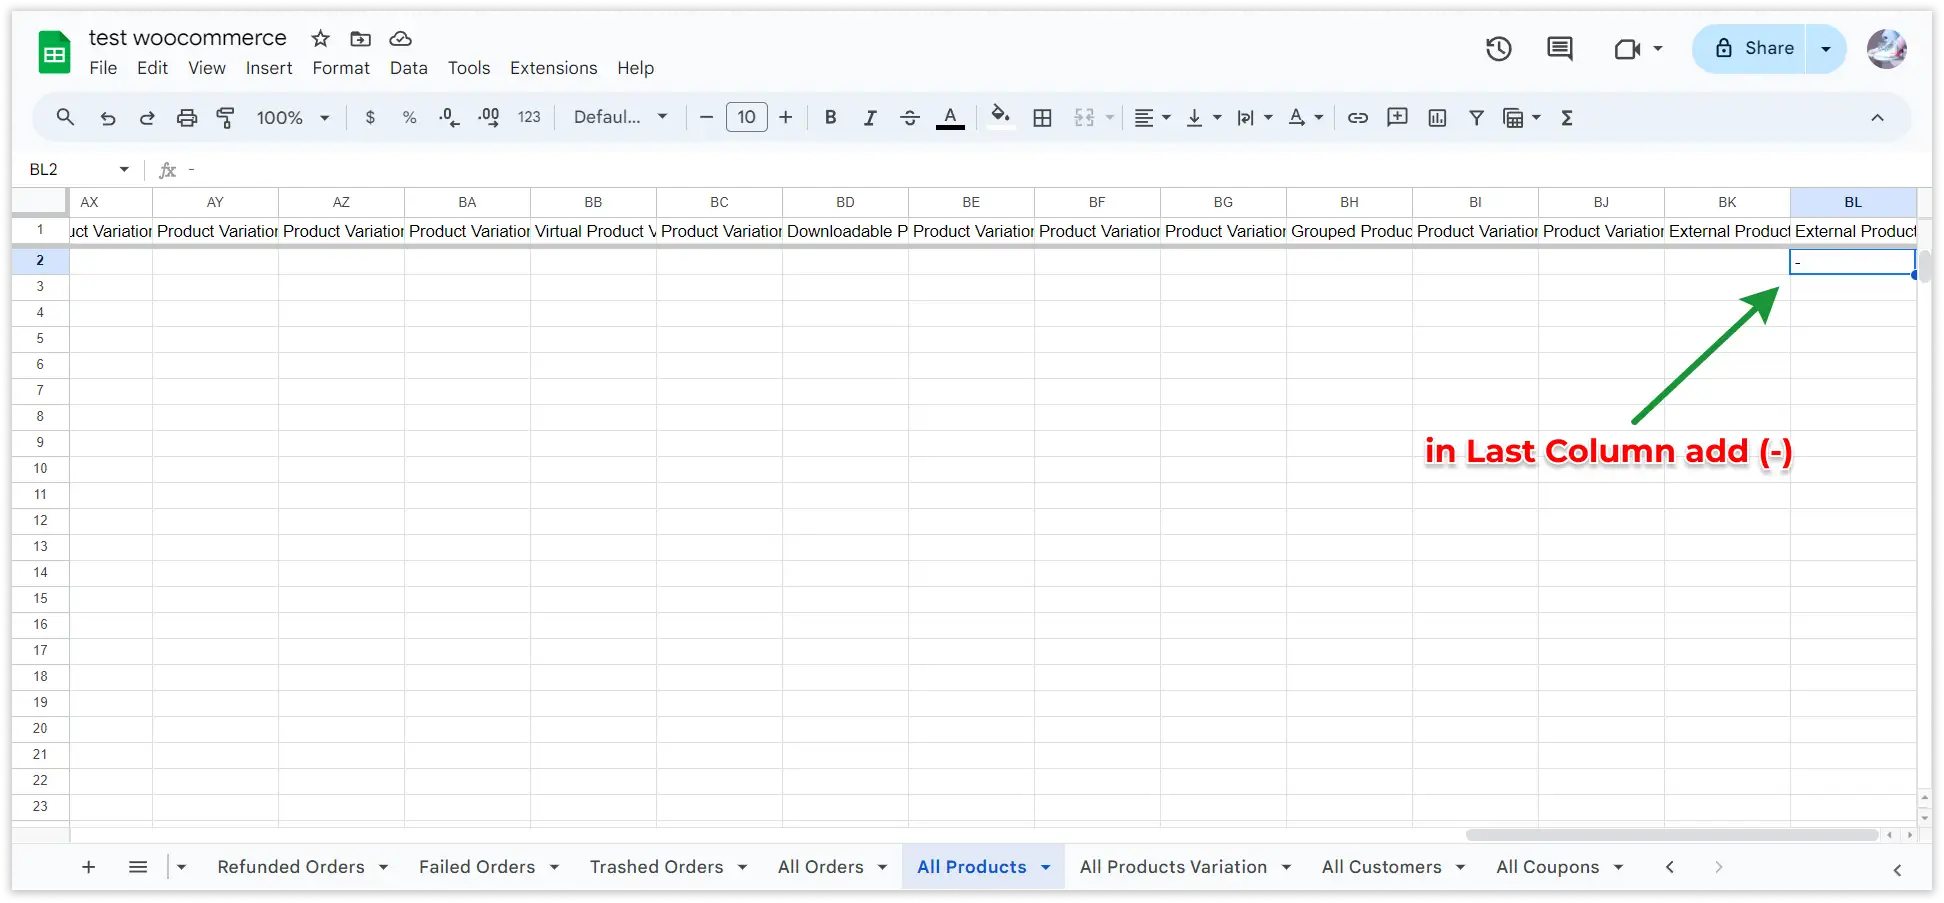
- Mandatory fields include Product name, with a dash (-) added in the last column.
- Specify the rows for synchronization. For a single row, input the same number in both text boxes.
- Example of Single Row: If the product is in row 5, enter ‘5’ in both boxes and click to sync.
- Example of Multiple Rows: If products are listed in rows 5-10, input ‘5’ and ’10’ in the respective boxes and initiate the sync.
- In the Image column, upload the image from media, copy the uploaded image path, and paste it in the corresponding column for each product.
- For the Product Downloadable Files column, upload a single file from media, copy the uploaded file path, and paste it in the relevant column for each product.
Supported Fields for Synchronization:
Please note that only the following list of fields will sync. If you’re using any other custom fields or columns based on third-party plugins, they will not sync:
- Product Id
- Product Name
- Product Status
- Product Short Description
- Product Description
- Product Slug
- Product Link
- Product Categories
- Product SKU
- Product Type
- Product Image
- Product Tags
- Product Regular Price
- Product Sale Price
- Product Sale Price Dates From
- Product Sale Price Dates To
- Product Stock
- Product Stock Status
- Product Weight
- Product Height
- Product Width
- Product Length
- Product Total Sale
- Product Purchase Note
- Product Dimensions
- Product Sold Individually
- Manage Product Stock
- Product Shipping Class
- Product Tax Status
- Product Tax class
- Virtual Product
- Date Created
- Date Modified
- Product Downloadable
- Product Downloadable Files
- Product Downloadable File Names
- Product Download Limit
- Product Download Expiry
- Product Allow Backorders
- Grouped Products Ids
- External Product Button Text
- External Product Link
In Google Sheet
Go to Connected Google Sheet Add Product info as you Prefer.

insert a dash (-) in the final column.
In 2 Way Sync Tab
Insert and Update Products
Sheet to WooCommerce Insert
Start by carefully reviewing the considerations provided. Once you have a clear understanding, proceed to indicate the range of rows where you wish to insert new data. For example, you can specify the range as starting from the second(2) row and ending at the second(2) row.
Following this, click on “Click to Sync Insert,” and your product will be generated based on the provided product information.
Now, if you have update something in Google Sheet and want to update in WooCommerce Store also then you can do it.
Sheet to WooCommerce Update
Start by updating the Google Sheet accordingly. Next, navigate to the WordPress Dashboard and locate the WooCommerce Google Sheet Connector – 2 Way Sync plugin. Then, enter the desired Rows Range, for example, from 2 to 200, as per your preference.
Following these steps, click on “Click to Sync update,” and your product will be updated according to the provided product information.

WooComerce Store will be updated accroding to your Google Sheet.(Row 2 to 200)
NOTE: If you are getting an quota limit error while click to sync from sheet to woocommerce, then please consider authentication with manual method, as this limit is from Google API.